How to Plant Seeds in a Garden: A Beginner’s Guide
Planting seeds is one of the most enjoyable ways to begin a gardening journey. A tiny seed has the potential to grow into a beautiful flower, a fragrant herb, or a fresh vegetable that you can harvest at home. Whether you have a spacious backyard, a small garden bed, or a few containers on a balcony, learning how to plant seeds in a garden can help you create a thriving green space without spending a lot of money. Seeds also give you the freedom to choose from many plant varieties and experiment with different colors, flavors, and growing styles. The process is easier than many beginners imagine when you understand the basic requirements of each plant. With the right seeds, healthy soil, suitable sunlight, and consistent care, you can turn an empty patch of ground into a productive garden.
This guide explains each step so you can start confidently and enjoy watching your plants grow. If you’re new to gardening, explore our Complete Gardening Guide for Beginners to learn the basics of creating and maintaining a healthy garden.
1. Choose the Right Seeds for Your Garden
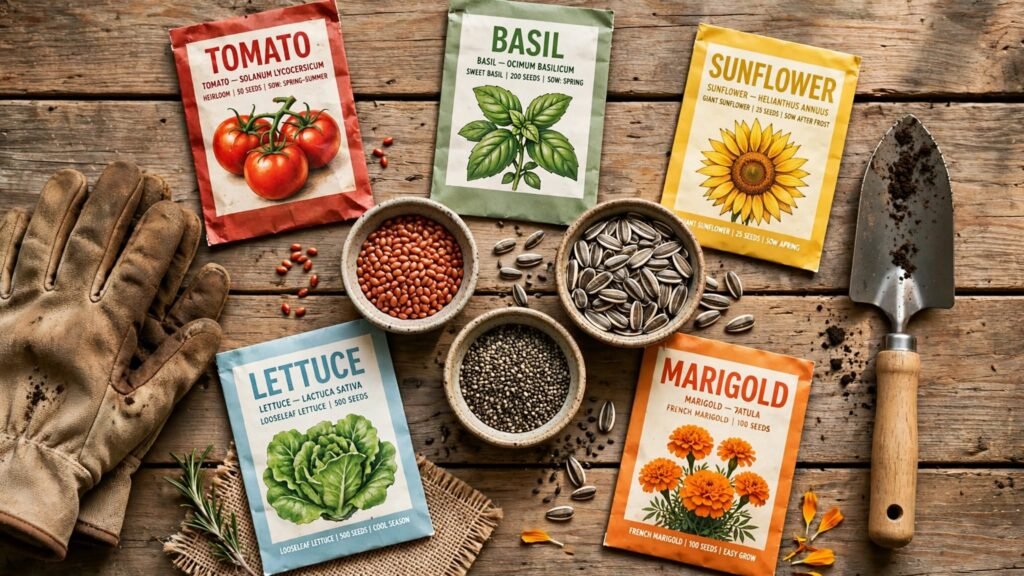
The first step is selecting seeds that match your gardening goals, climate, available space, and experience. If you want fresh food, consider beginner-friendly vegetables such as radishes, lettuce, beans, peas, and leafy greens. If you prefer colorful surroundings, try marigolds, sunflowers, zinnias, or cosmos. Basil, coriander, and parsley are useful choices for an herb garden, although their growing requirements differ.
Before buying seeds, read the information printed on the packet. Look for planting dates, sunlight requirements, expected germination time, recommended spacing, and sowing depth. Choose seeds suited to your local growing season and temperatures. In hot climates, including many parts of Pakistan, the cooler months are often better for lettuce, peas, and some leafy vegetables, while heat-loving crops such as okra and certain beans generally perform better in warmer weather.
Check the packet’s expiry date and buy from a reputable supplier. Fresh, properly stored seeds usually offer more reliable germination. For your first garden, choose just three or four varieties rather than planting too many at once. A smaller selection makes it easier to understand each plant’s needs and recognize early growth problems.
2. Choose the Best Location for Planting
Finding the right location can make a significant difference in how well your seeds grow. Most vegetables and many flowering plants need several hours of direct sunlight each day. Fruiting crops such as tomatoes, peppers, and cucumbers commonly perform best with around six to eight hours of sunlight, while some leafy greens tolerate partial shade, especially in hot weather.
Observe your garden throughout the day before deciding where to plant. Notice which areas receive morning sunlight, which become shaded in the afternoon, and where water collects after rain. Avoid low-lying spots that remain waterlogged because overly wet soil can reduce oxygen around developing roots and encourage seed rot.
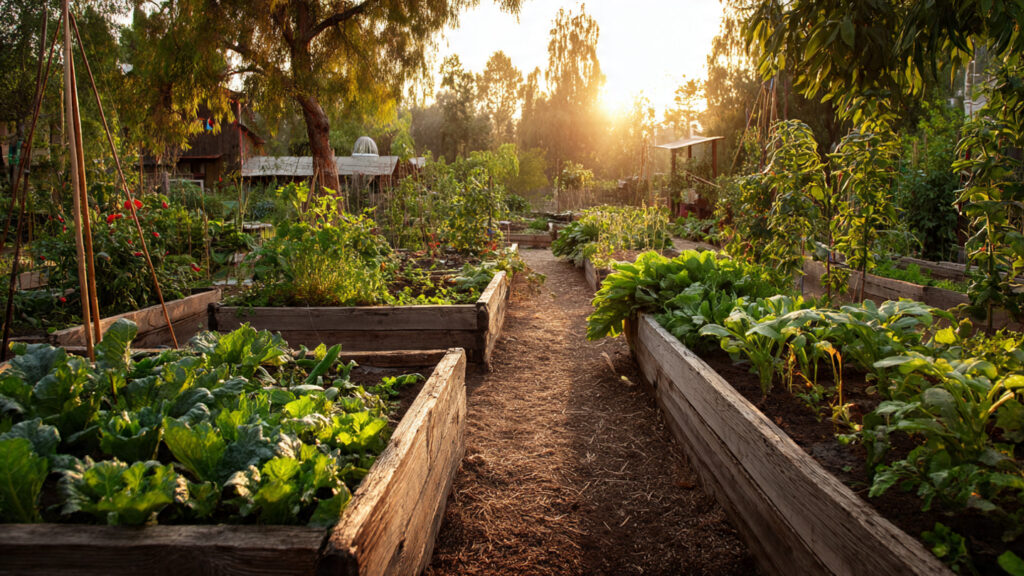
If you have limited outdoor space, use containers or raised beds in a sunny location. Make sure containers have drainage holes and can be watered conveniently. Keep taller plants from shading smaller crops that need more sunlight.
Wind exposure also matters. Strong winds can dry the soil quickly and damage delicate seedlings. A sheltered area near a fence or hedge may offer protection, provided it does not block necessary sunlight or airflow.

3. Prepare the Soil Before Sowing Seeds
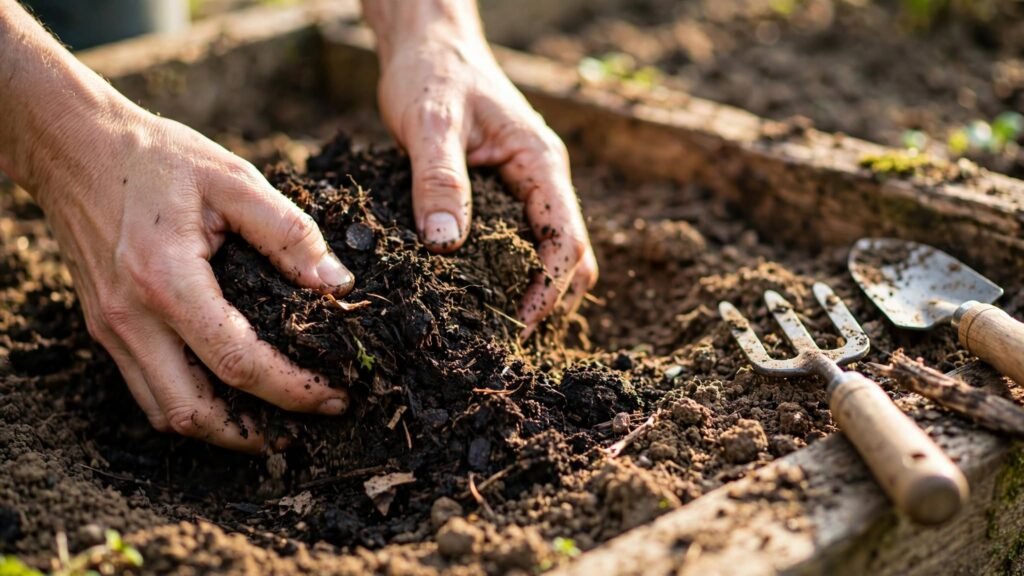
Healthy soil provides seeds with moisture, air, and the conditions needed to develop roots. Before planting, remove weeds, stones, old plant debris, and large clumps of compacted soil. Loosen the top layer with a hand fork or garden tool so roots can develop more easily and water can move through the soil.
Add mature compost to improve soil structure and support beneficial soil organisms. Compost can help sandy soil retain moisture and make heavy soil easier to work with. Use well-rotted compost rather than fresh manure, which can damage seedlings or introduce unwanted pathogens.Before preparing your garden bed, check out our guide to essential gardening tools for beginners to find the tools you need to make planting easier.
If your garden soil is extremely compacted, drains poorly, or has a history of plant problems, consider testing its pH and nutrient levels. Most common garden vegetables grow well in slightly acidic to neutral soil, although individual plants have different preferences. Adjust the soil only when a test or clear growing need supports doing so.
Avoid preparing soil when it is saturated with water. Working wet soil can compact it and damage its structure. Instead, wait until it is moist but crumbly. Before sowing, rake the surface until it is reasonably fine and level, especially for small seeds that need good contact with the soil.
4. Check the Correct Planting Time
Seeds germinate best when temperature, moisture, and other environmental conditions match the needs of the plant. Some varieties prefer cool weather, while others require warmer soil to germinate successfully. Planting at the wrong time can lead to slow germination, poor growth, or seedlings damaged by heat or cold.
Cool-season crops include many lettuces, peas, radishes, and spinach varieties. Warm-season plants include beans, cucumbers, squash, and many tomatoes and peppers. However, the exact timing depends on the variety, local temperatures, and whether seeds are started indoors or outdoors.
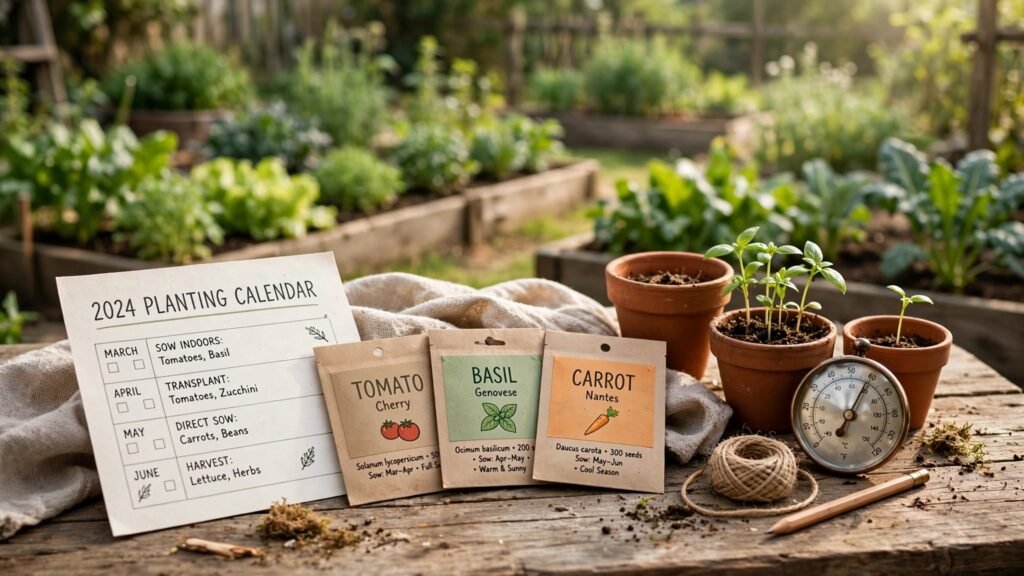
Check your seed packet and use a local planting calendar as a guide. In regions with very hot summers, gardeners may have better results by sowing cool-season vegetables in autumn or winter and heat-loving vegetables during a suitable warm growing period. Avoid relying on a calendar alone when unusual temperatures or local weather conditions affect your garden.
If you are unsure, begin with a small test row rather than sowing an entire bed. This lets you see how seeds respond to the current conditions before committing more space.
5. Decide Whether to Sow Seeds Directly or Start Them Indoors
Not every seed needs to be planted in the same way. Some plants grow best when their seeds are sown directly into the garden, while others benefit from starting in containers before being transplanted.
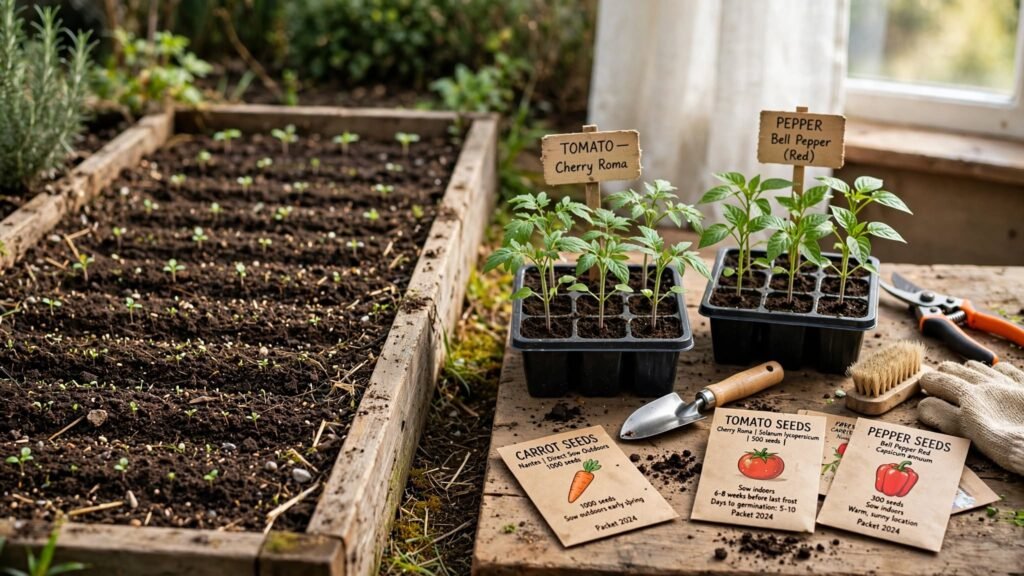
Direct sowing is suitable for many root vegetables, including carrots and radishes, because their roots can be disturbed by transplanting. Beans, peas, lettuce, and many wildflowers can also be sown directly, depending on the variety and conditions. Prepare the soil, make shallow furrows, and sow the seeds at the recommended spacing.
Starting seeds indoors can be useful for tomatoes, peppers, and other plants that need a longer growing period. Use clean seed-starting trays or small containers with drainage holes and a suitable seed-starting mix. Place the containers where seedlings receive enough light and maintain the temperature recommended for the crop.
Before moving indoor-grown seedlings outside, gradually introduce them to outdoor conditions over approximately seven to ten days. Start with short periods in a sheltered location and increase their exposure to sunlight and wind. This process, called hardening off, helps reduce transplant shock.
6. Plant Seeds at the Correct Depth and Spacing
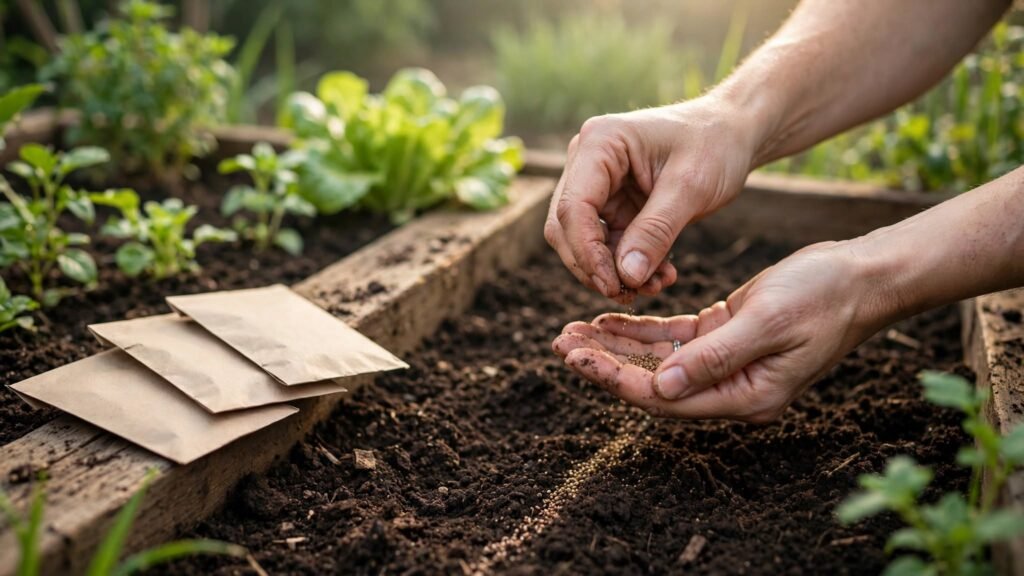
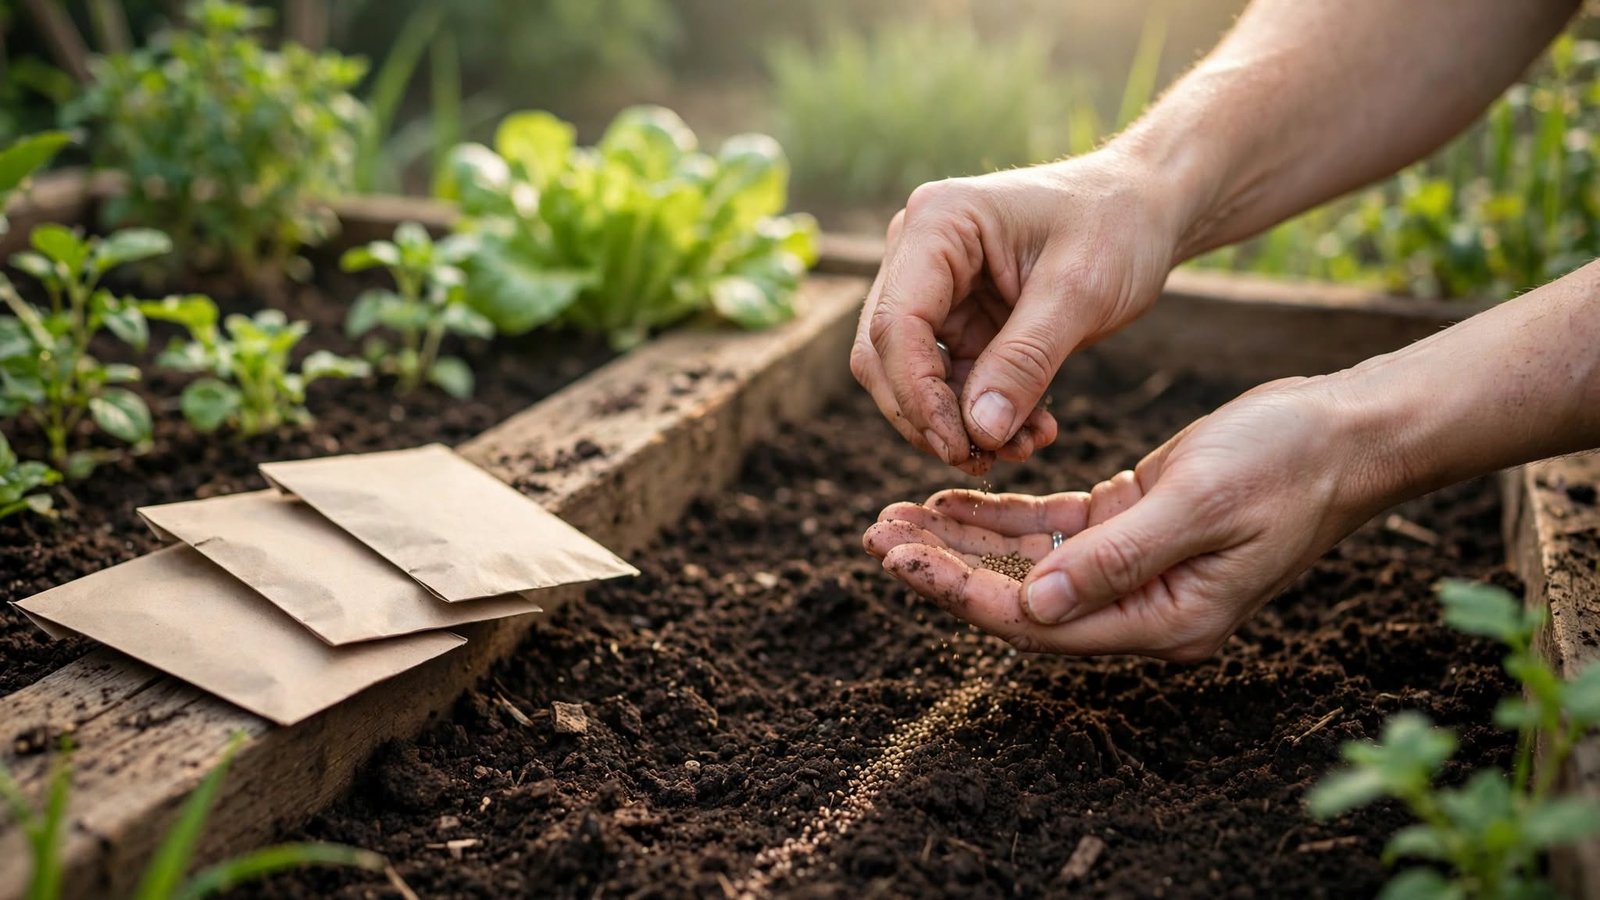
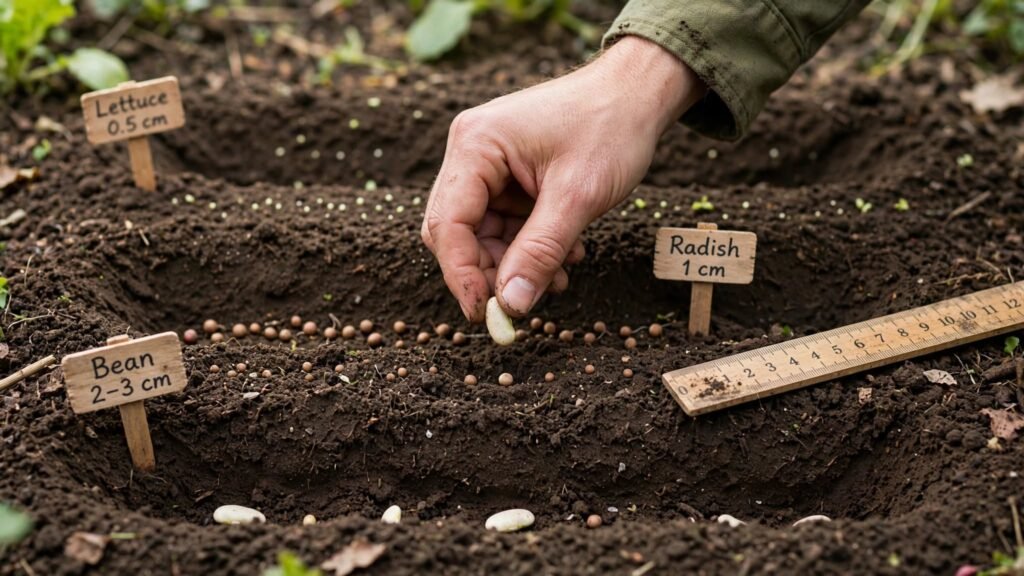
Planting seeds at the right depth is one of the most important steps in successful germination. Seeds placed too deeply may struggle to reach the surface, while seeds placed too close to the surface can dry out quickly. The correct depth depends on seed size and the growing requirements of the plant.
A common starting guideline is to sow a seed at a depth of roughly two to three times its diameter, but the seed packet should always take priority. Very small seeds, such as many lettuce and petunia seeds, may need light to germinate and should be left on the surface or covered only very lightly. Larger seeds, such as beans and peas, can usually be planted deeper.
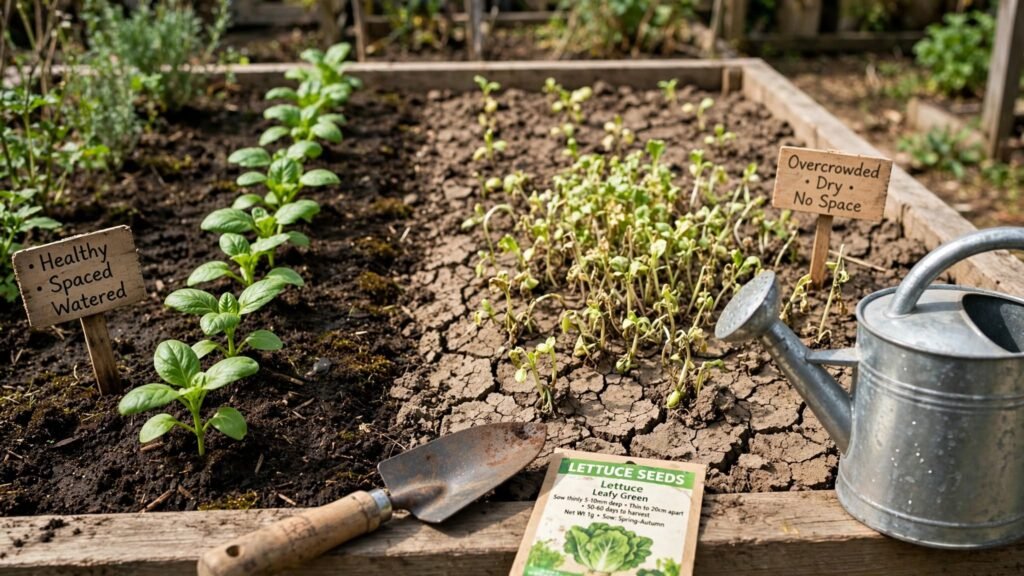
Spacing is equally important. Seeds planted too close together compete for light, water, nutrients, and room for root development. Follow the packet’s recommended distance between seeds and rows. If a packet recommends thinly sowing seeds, leave enough room to remove extra seedlings later.
After placing each seed, cover it gently with fine soil or seed-starting mix. Press the surface lightly to improve contact between the seed and soil without compacting it. Label each row with the plant name and planting date so you can identify seedlings as they emerge.
7. Water Newly Planted Seeds Gently
Seeds need moisture to begin germination. When they absorb water, the process of growth begins inside the seed, allowing the root and shoot to develop. However, too much water can deprive seeds of oxygen, encourage rot, and create conditions for fungal problems.
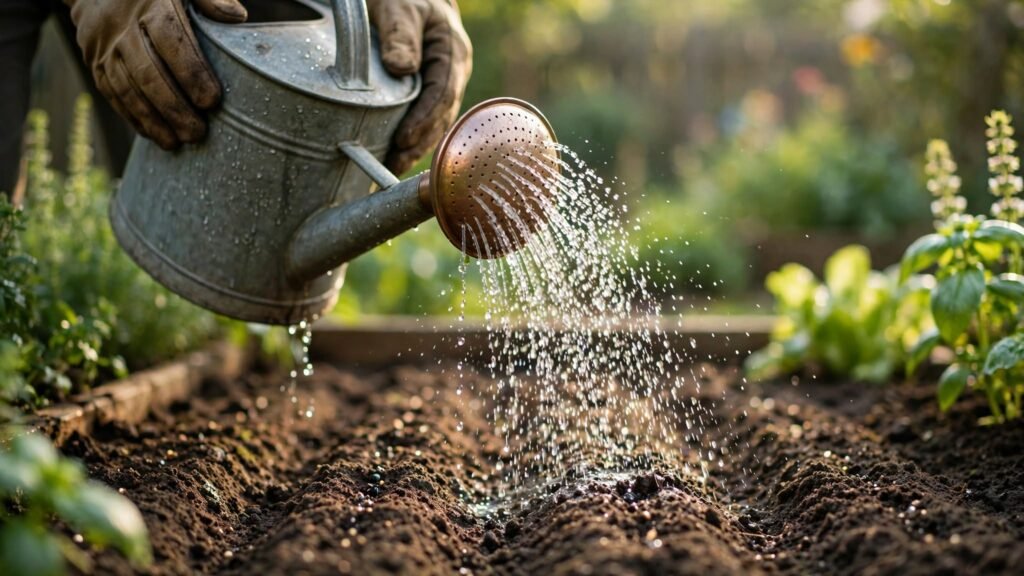
After sowing, water the bed gently using a watering can with a fine rose or a hose fitted with a gentle spray nozzle. Avoid directing a strong stream at the soil because it may wash away seeds or uncover them. The goal is to moisten the planting area evenly without creating puddles. To keep your seeds and young plants healthy, learn how often you should water a garden and adjust your watering routine according to the weather and soil conditions.
Check the soil regularly during the germination period. The surface should remain appropriately moist for the particular seed, but the bed should not remain waterlogged. Small seeds near the surface can dry out quickly on warm, windy days, so inspect them more frequently during dry weather.
Once seedlings emerge and establish roots, adjust your watering routine according to the crop, weather, and soil type. Water deeply enough to encourage healthy root development while allowing excess water to drain. Containers may dry out more quickly than garden beds, so they often require closer attention.
8. Provide the Right Sunlight and Growing Conditions
After planting, create conditions that allow seeds to germinate and seedlings to develop strong stems and leaves. Different plants have different light requirements, so check the seed packet instead of assuming every crop needs full sun.
Most vegetables that produce fruits, such as tomatoes and cucumbers, benefit from plenty of direct sunlight. Some leafy crops can tolerate partial shade, especially when temperatures rise. If you are starting seeds indoors, place them near a bright window or use an appropriate grow light when natural light is insufficient.
Seedlings that receive too little light may become tall, thin, and weak as they stretch toward a light source. If you use artificial lighting, follow the manufacturer’s recommendations for distance and duration. Avoid exposing tender seedlings to intense heat or sudden, prolonged direct sunlight.
Temperature also affects growth. Cool-season plants may struggle in excessive heat, while warm-season crops can grow poorly in cold soil. Protect young plants from severe weather when needed, and provide adequate airflow to reduce excess humidity around foliage.

9. Thin Seedlings and Remove Weeds
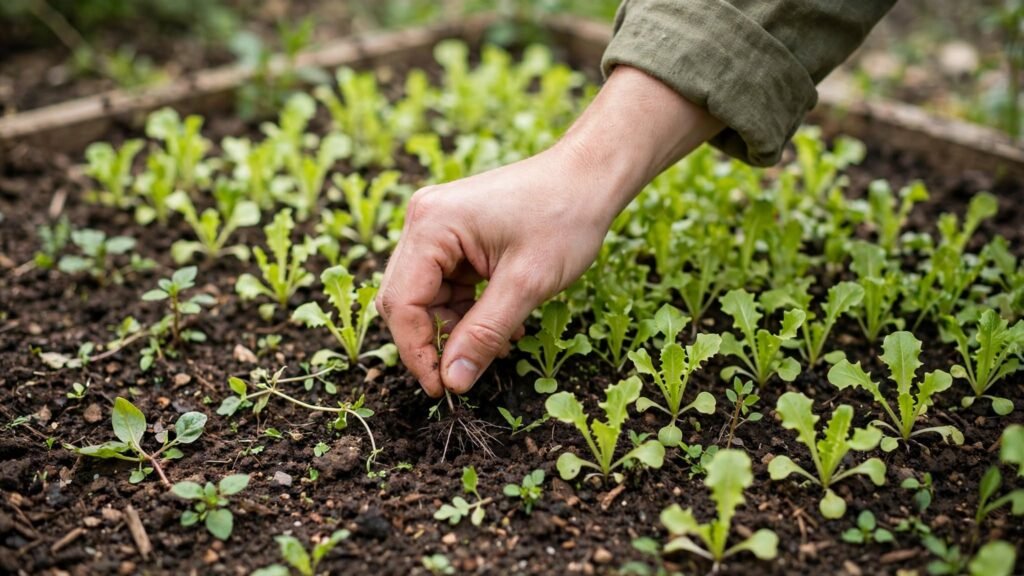
When seeds are sown close together, several seedlings may emerge in the same area. Although this can look encouraging, overcrowding prevents plants from accessing the light, water, and nutrients they need. Thinning helps the strongest seedlings grow into healthier plants.
Wait until seedlings have developed enough growth to identify them, then follow the spacing instructions for the crop. Remove excess seedlings carefully. For plants with delicate roots, snipping unwanted seedlings at soil level may be safer than pulling them and disturbing nearby roots. Some edible seedlings can be used as microgreens if they are an appropriate variety and have been grown under suitable conditions.
Weeds also compete with young plants. Remove them while they are small, taking care not to disturb newly developing roots. A thin layer of suitable organic mulch can help suppress weeds and conserve moisture once seedlings are established. Keep mulch away from delicate stems and avoid covering tiny seeds that need light to germinate.
Check the bed regularly rather than waiting for weeds to become large. A few minutes of maintenance each week can make a significant difference to the health and appearance of your garden.
10. Protect Young Seedlings From Pests and Weather
Young seedlings are vulnerable because their stems and leaves are still developing. Slugs, snails, caterpillars, birds, and other garden pests may damage them before they become established. Heat, heavy rain, and strong wind can also harm delicate growth.
Inspect your garden frequently, especially during the first few weeks after germination. Look for missing leaves, holes, discolored stems, or disturbed soil. Identify the cause before taking action because different pests require different solutions.
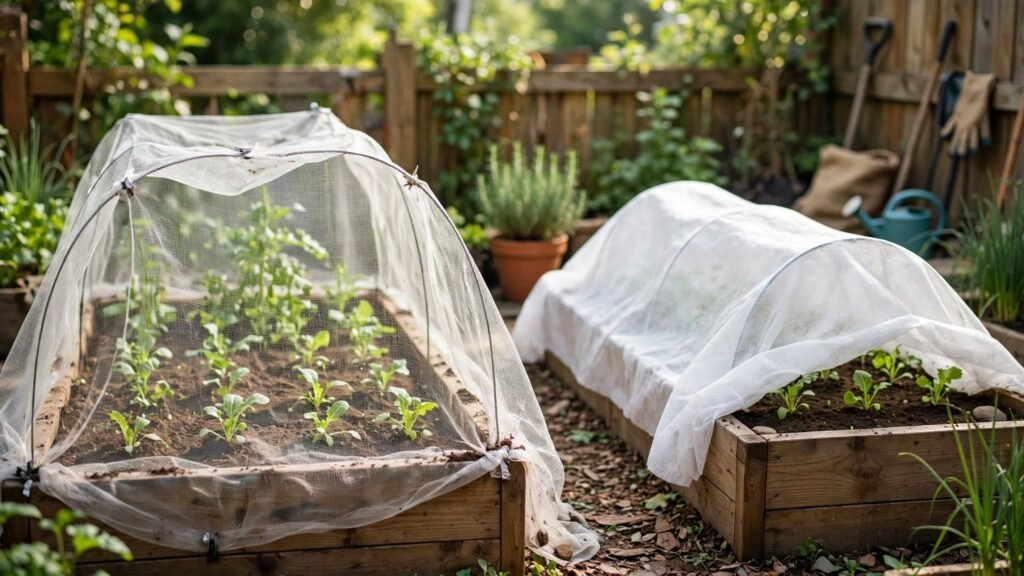
Use physical protection where practical. Lightweight insect mesh can protect suitable crops from some pests, while temporary covers may shield seedlings from heavy rain or harsh sunlight. Make sure covers allow adequate airflow and do not trap excessive heat. Remove or adjust them when plants need pollination or temperatures rise.
Keep the garden clean by removing diseased plant material and clearing away debris that may shelter pests. Avoid applying pesticides unnecessarily, particularly when seedlings are young and beneficial insects are active. If treatment is required, select a product appropriate for the plant and pest, and follow its label carefully.
11. Monitor Germination and Care for Growing Plants
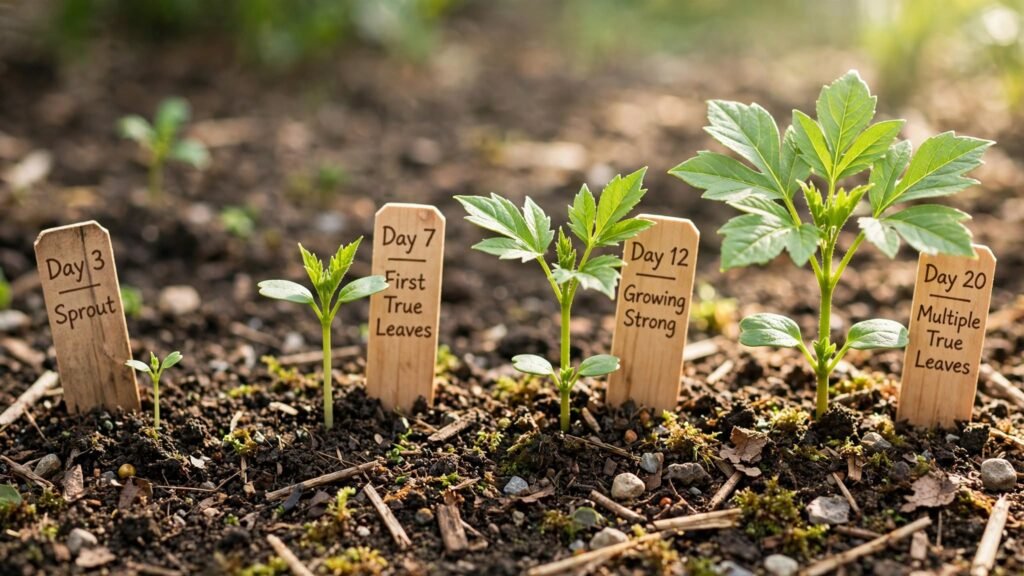
Patience is essential when growing seeds. Some varieties germinate within a few days, while others may take several weeks. The time depends on seed type, freshness, temperature, moisture, and growing conditions.
Keep a simple gardening record with the planting date, seed variety, and approximate germination period. This makes it easier to understand how different plants behave in your garden. If seeds have not emerged within the expected period, check the packet before assuming they have failed. Examine the soil moisture and temperature, and look for signs of disturbed seeds or rot.
Once seedlings develop true leaves—the leaves that appear after the first seed leaves—many plants can begin using nutrients available in the soil. If the growing medium is low in nutrients, follow appropriate guidance for feeding young plants. Avoid overfertilizing, as excessive fertilizer can damage tender roots.
As the plants grow, continue watering as needed, remove weeds, and observe their color and structure. Strong seedlings generally develop healthy leaves and sturdy stems. Keeping track of your progress helps you learn which varieties perform best and improve your results in future planting seasons.
12. Common Mistakes to Avoid When Planting Seeds
Even experienced gardeners occasionally have trouble with germination, but many problems can be avoided by following a few simple practices. One common mistake is planting seeds too deeply. Always check the recommended depth, especially for very small seeds that need light to germinate.
Another frequent problem is overwatering. Constantly saturated soil can prevent oxygen from reaching developing roots and encourage seeds to rot. At the other extreme, letting the seedbed dry out repeatedly can interrupt germination. Check moisture regularly and adjust watering according to the weather and soil conditions. To improve your chances of success, read our guide to common gardening mistakes beginners should avoid, including overwatering, planting seeds too deeply, and overcrowding seedlings.
Using the wrong season can also reduce success. Seeds suited to cool temperatures may struggle during hot weather, while warm-season crops can fail in cold soil. Choosing varieties appropriate for your region makes planting easier.
Finally, avoid overcrowding, neglecting labels, and planting in poorly drained locations. Start with a manageable number of varieties and learn their needs before expanding your garden. If a batch fails, review your planting depth, watering, seed quality, and temperature rather than giving up. Each growing season provides useful lessons that help you become a more confident gardener.
Conclusion
Planting seeds in a garden is a simple and rewarding way to begin growing your own vegetables, herbs, and flowers. By choosing suitable seeds, preparing healthy soil, selecting the right planting time, and following the recommended depth and spacing, you give your plants a strong start. Consistent moisture, appropriate sunlight, and protection from pests also help young seedlings develop into healthy plants. Remember that every seed has different requirements, so reading seed packets and observing your garden will help you make better decisions.
You do not need an expensive setup or a large backyard to begin. A small garden bed or a few containers can provide plenty of opportunities to learn. Start with a handful of easy varieties, keep track of your progress, and make adjustments when necessary. With patience and regular care, your garden can become a beautiful, productive space that brings fresh food, natural beauty, and satisfaction to your everyday life.
Growing a garden from seeds also teaches you to appreciate the small changes that happen in nature. The first green sprout emerging from the soil, the appearance of new leaves, and the gradual development of flowers or vegetables are all exciting milestones. Do not become discouraged if some seeds fail to germinate or a few seedlings struggle. Gardening involves experimentation, and even unsuccessful attempts can teach you something useful about soil, water, temperature, and plant care.
Keep your garden healthy by removing weeds, checking for pests, and watering according to changing weather conditions. Most importantly, enjoy the process instead of expecting perfect results immediately. Every planting season offers another opportunity to improve your skills. Start with one small planting project today, nurture it consistently, and let your gardening journey grow one seed at a time.
FAQs: How to Plant Seeds in a Garden
Choose beginner-friendly seeds, prepare loose and well-draining soil, follow the recommended planting depth, cover the seeds lightly, and water gently. Keep the soil appropriately moist until germination.
Planting depth depends on the seed variety and size. A common guideline is two to three times the seed’s diameter, but some tiny seeds should be surface-sown. Always follow the seed packet.
Check the soil regularly and keep it consistently moist according to the seed’s needs. Water gently whenever necessary, but avoid waterlogging. Hot, windy conditions may require more frequent checks.
Some seeds germinate in three to seven days, while others may take two weeks or longer. Temperature, moisture, seed freshness, and plant variety all influence germination time.
Yes. Many vegetables, herbs, and flowers can be sown directly outdoors. Root crops such as carrots often prefer direct sowing, while some heat-loving crops benefit from starting indoors in cooler climates.
There is no single best month for every plant or region. Cool-season vegetables generally prefer cooler conditions, while warm-season crops need warmer soil. Check local planting calendars and seed packet instructions.